
I am going to do my first ever complete DIY post... and show you how you can make your own wheat bag.
This is really easy to make and the best thing to own. You can heat it up in the micro-wave or oven and put it on your achy body, or chuck it in the freeze for headaches and bumps.
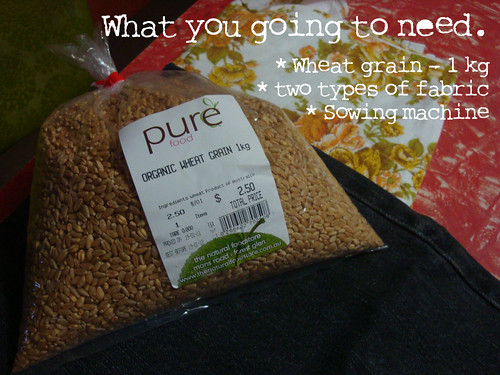
When you have all the bits you need your ready to get started. Oh, and if your not sure where to get Wheat Grain, you will be sure to find some at a natural health food-store.
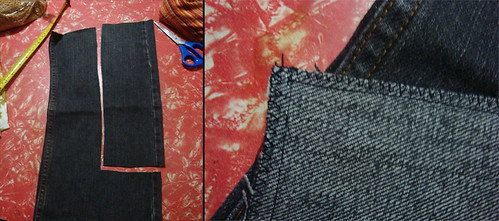
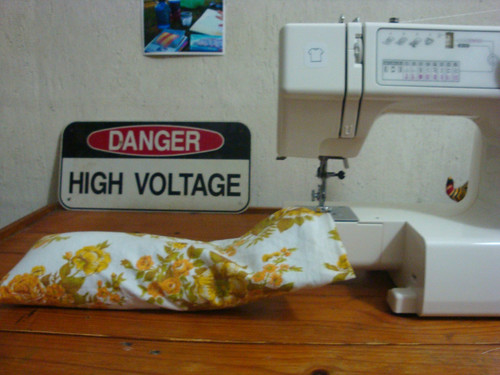
Step 1: You need to cut a two rectangles 40cm long and 15cm wide, and sew up the edges but leave one end open. This is to be the inside layer which holds the Wheat Grain.
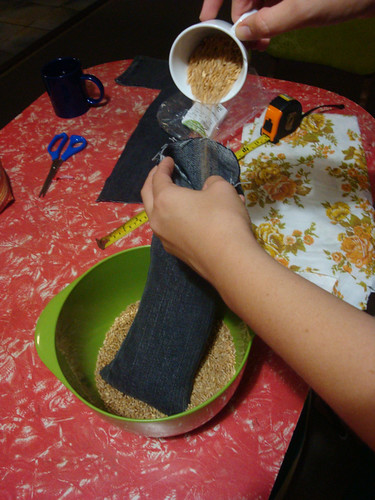
Step 2: Next you need to fill it with the Wheat Grain, making sure you leave about 10cm at the top empty to give you room to sew it closed and let it mould to your body. Once its full you need to sew it shut and secure it.
Step 3: When you have finished the first bag, you need to make a second covering. This is worth doing as it means you can wash the cover when ever you want and you can make it look pretty. The second covering needs to be bigger than the first rectangle so the bag fits inside it.
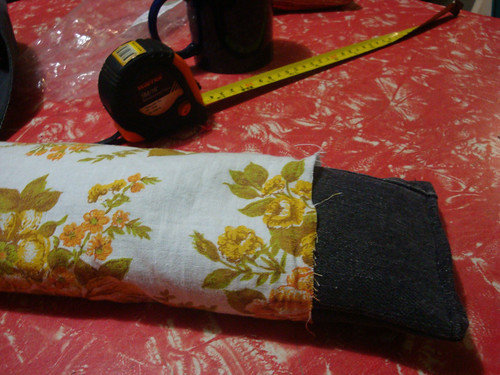
Step 4: Then sew up the edges leaving one end free and fit the Wheat filled bag inside the covering. Once its inside, sew up the end and you have made your very own Wheat Bag. Tada!!!
I'm gonna try post somthing I made each week before the weekend, to bring you some inspiration to get crafty on the weekend. So, here it goes..
-kim
No comments:
Post a Comment
hello hello... we love hearing your thoughts... so tell us what you think right here!