Time has flown and it seems its been a couple of months since I last did a
diy post. I thought I would try something different to get me back in the swing of things, so I'm going to share a little tip of one of my favourite types of sewing.
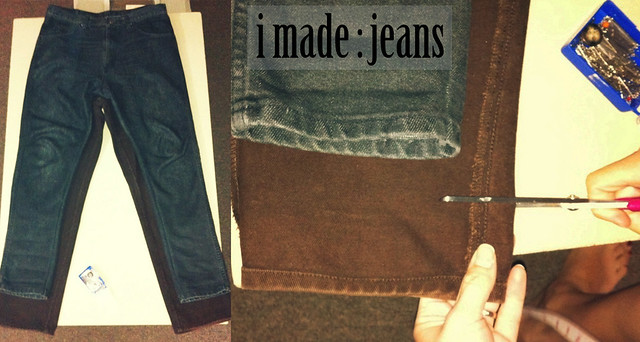
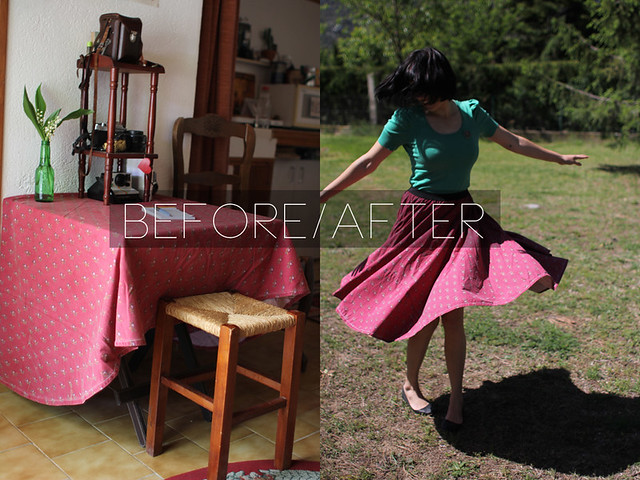
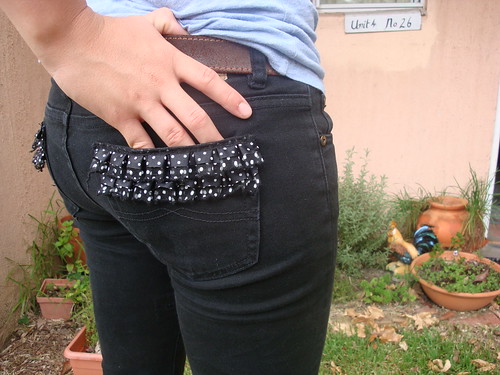
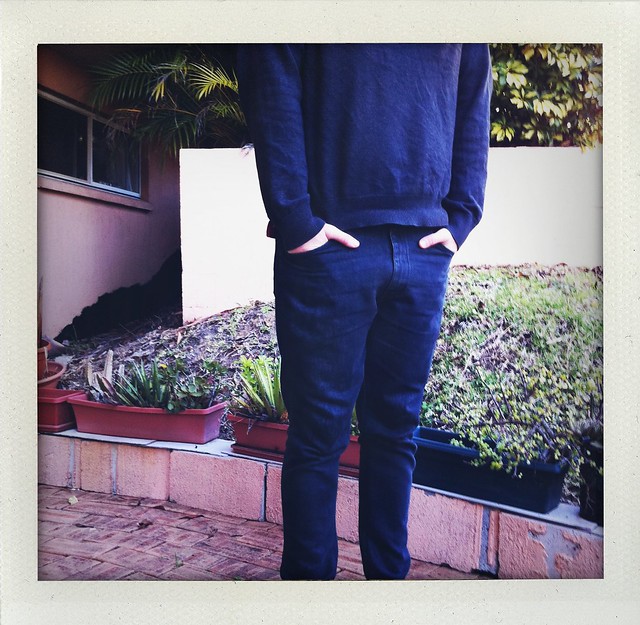
I love to buy second hand clothes from an op shop and then revamp them so they suit me. Morgan loves skinny leg jeans which are kinda hard to come by in an op shop, so he started buying any jeans that fit him in the waist, and then I just make the legs custom to what he likes. This is super easy to do, and I'm gonna give you a couple of ways to do this.
::ONE::One may to make your own custom jeans, is to try them on inside out, and pin then to the cut you like. This is hard if you are doing this for yourself and you may need some help from a friend.
::TWO::An easier way to do this, especially if you are making them for yourself is to lay a pair of jeans you like the cut of, on top of the jeans you are trying to fix. This way you can just trace the cut of the jeans and sew them to the same size. Once you have done this, you can try them on and see if you need to change anything.
 TIPS
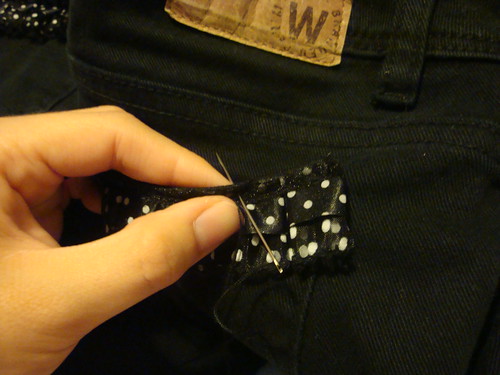
TIPS- There are special sewing needles for Denim. For years I just used the same needle for everything, but would always snap needles when I was fixing jeans. It's well worth swapping needles when you're switching to sewing denim.
- If you don't have an overlocker (like me), you need to reinforce the stitch so it is strong. Its good to do a straight stitch down the length, then running parallel down the edge of the fabric neaten it up with a zig zag stitch.
- It is best to make the adjustments (unless you're doing some major work) to the inside seem of the leg. This allows you to change just one seem, and correct the length, width and crutch all at once.
If you have any questions just ask..
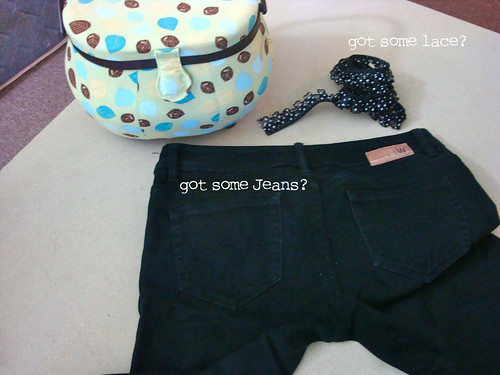
Oh and don't forget to enter our
Giveaway. You go in the draw to win a lovely collection of goodies (camera, book, beautiful coffee, earrings and much more), and there are a heap of ways you can win, so get cracking.
-kim
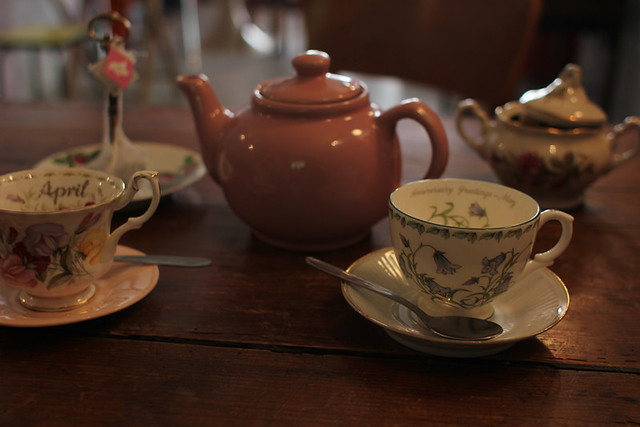
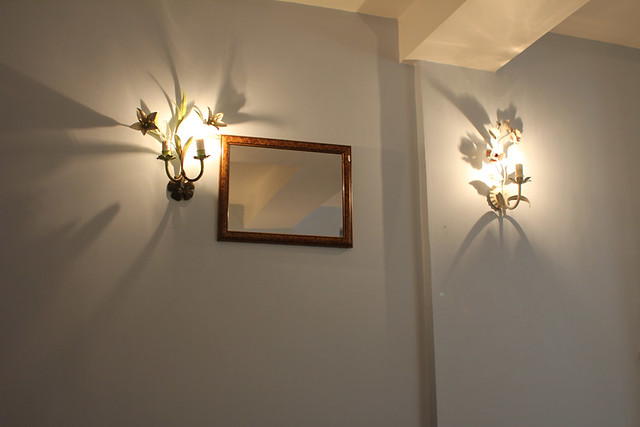
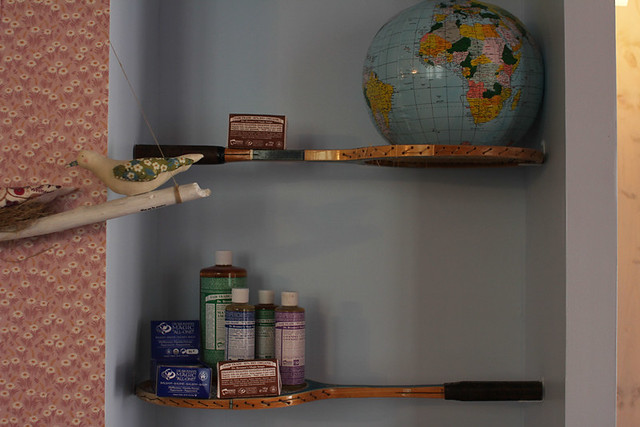
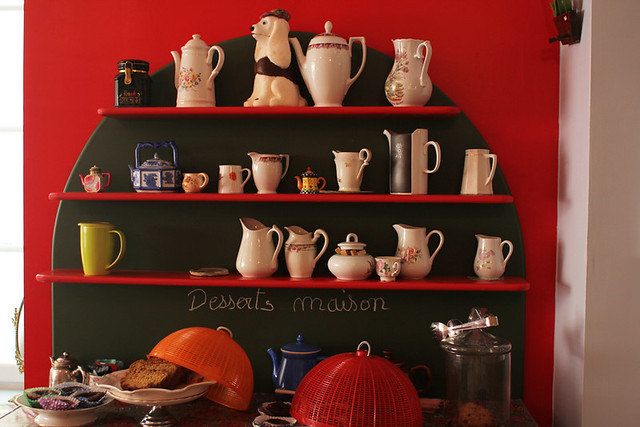
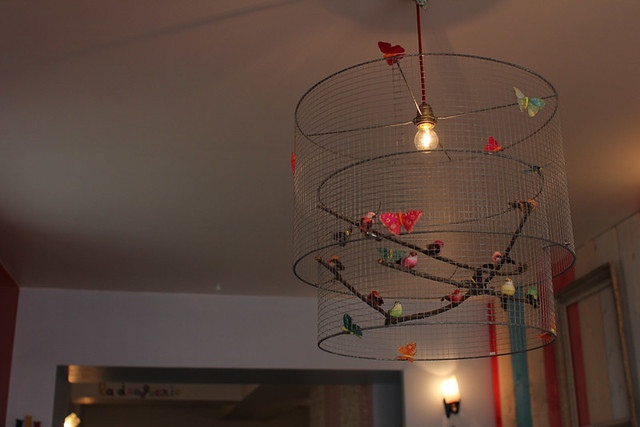
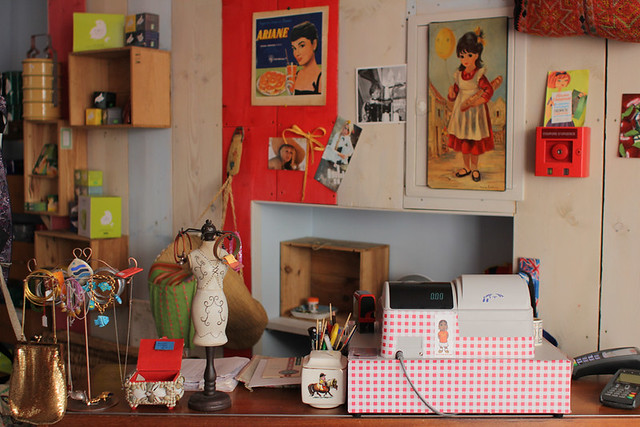
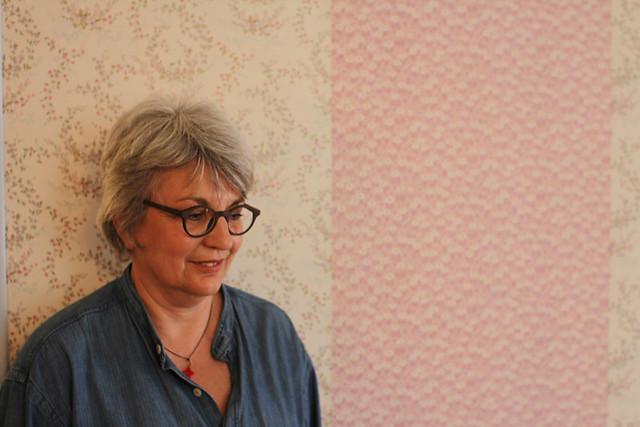
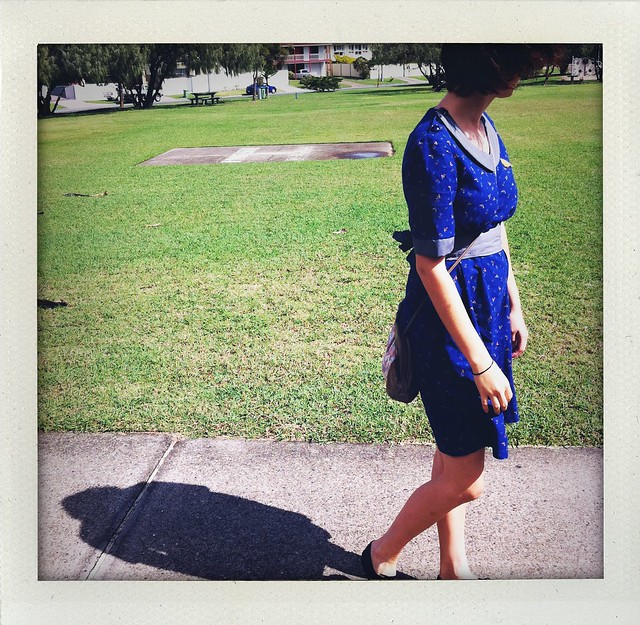
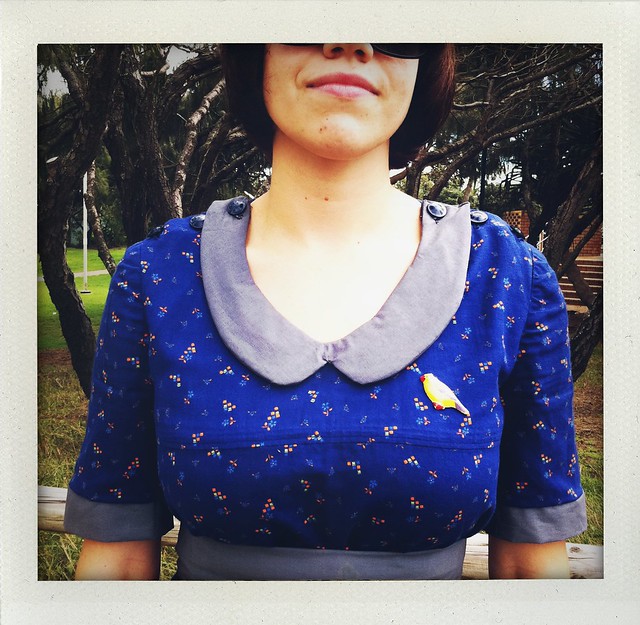
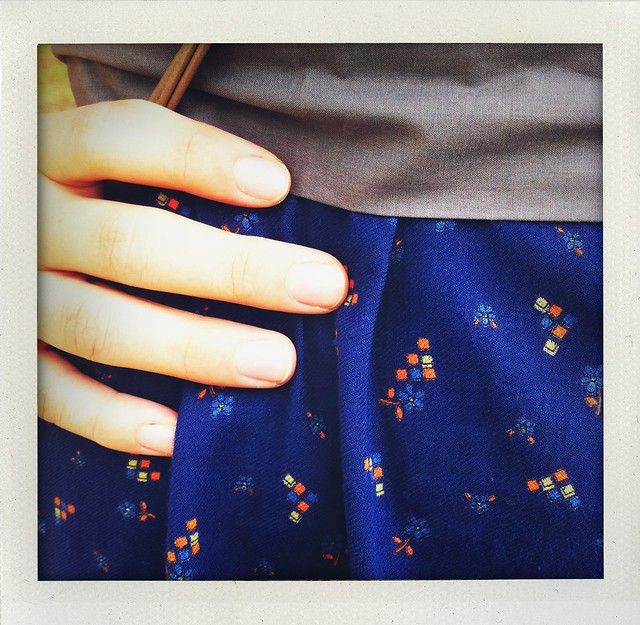
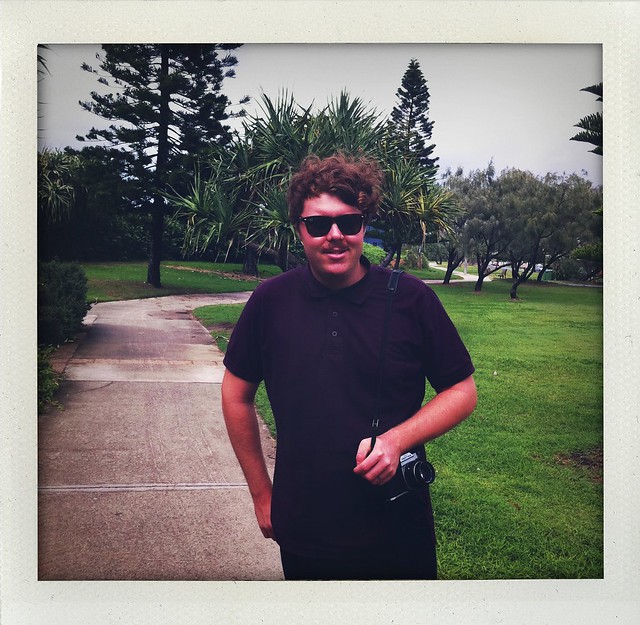
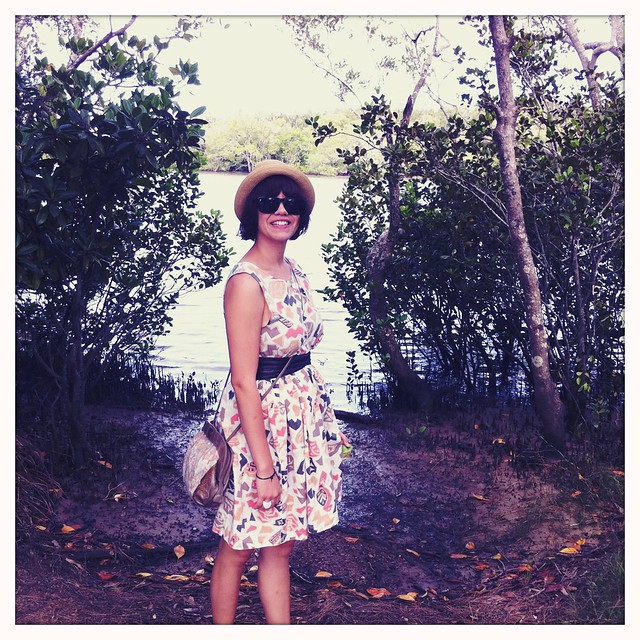
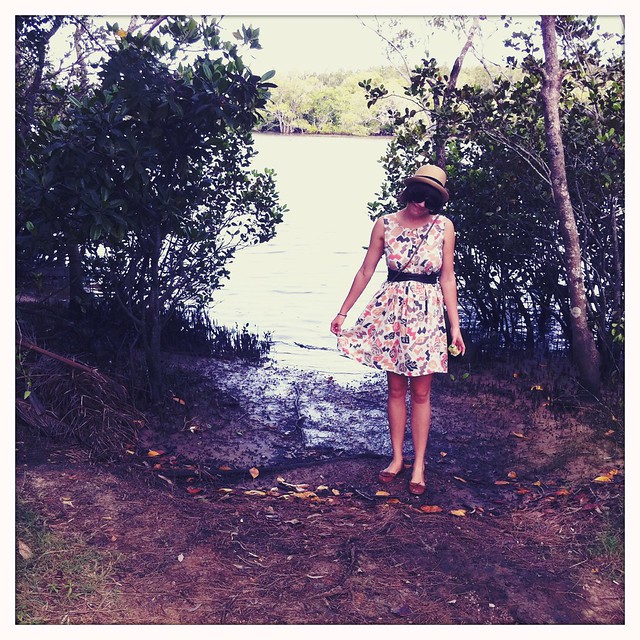
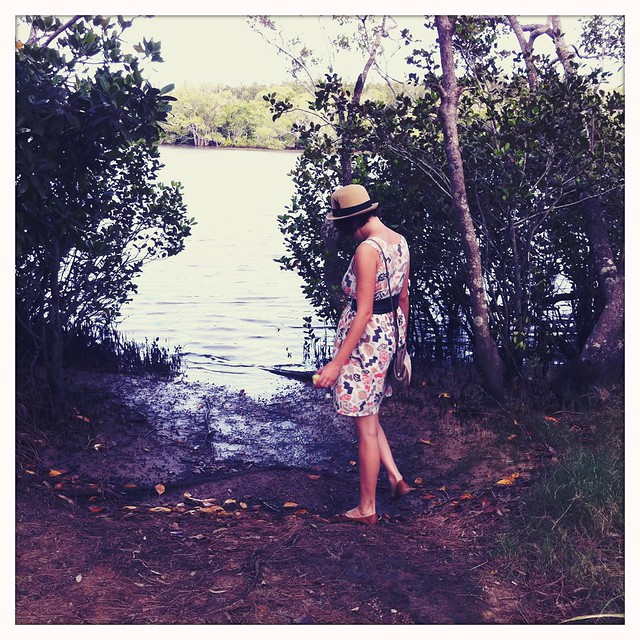
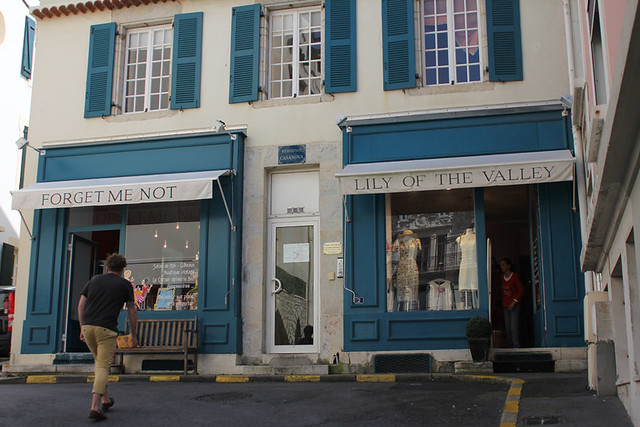 The other week, Morgan and I stumbled upon a little boutique/cafe called Forget me not. Shops like this are quite common in Australia, but here in France this was quite a rare find. We shared a pot of organic rose tea and had lovely chats about the world with Marie, the owner. If you're ever in Biarritz, try and find it, you'll love it.